Installation Guide: GORE® GR Sheet Gasketing
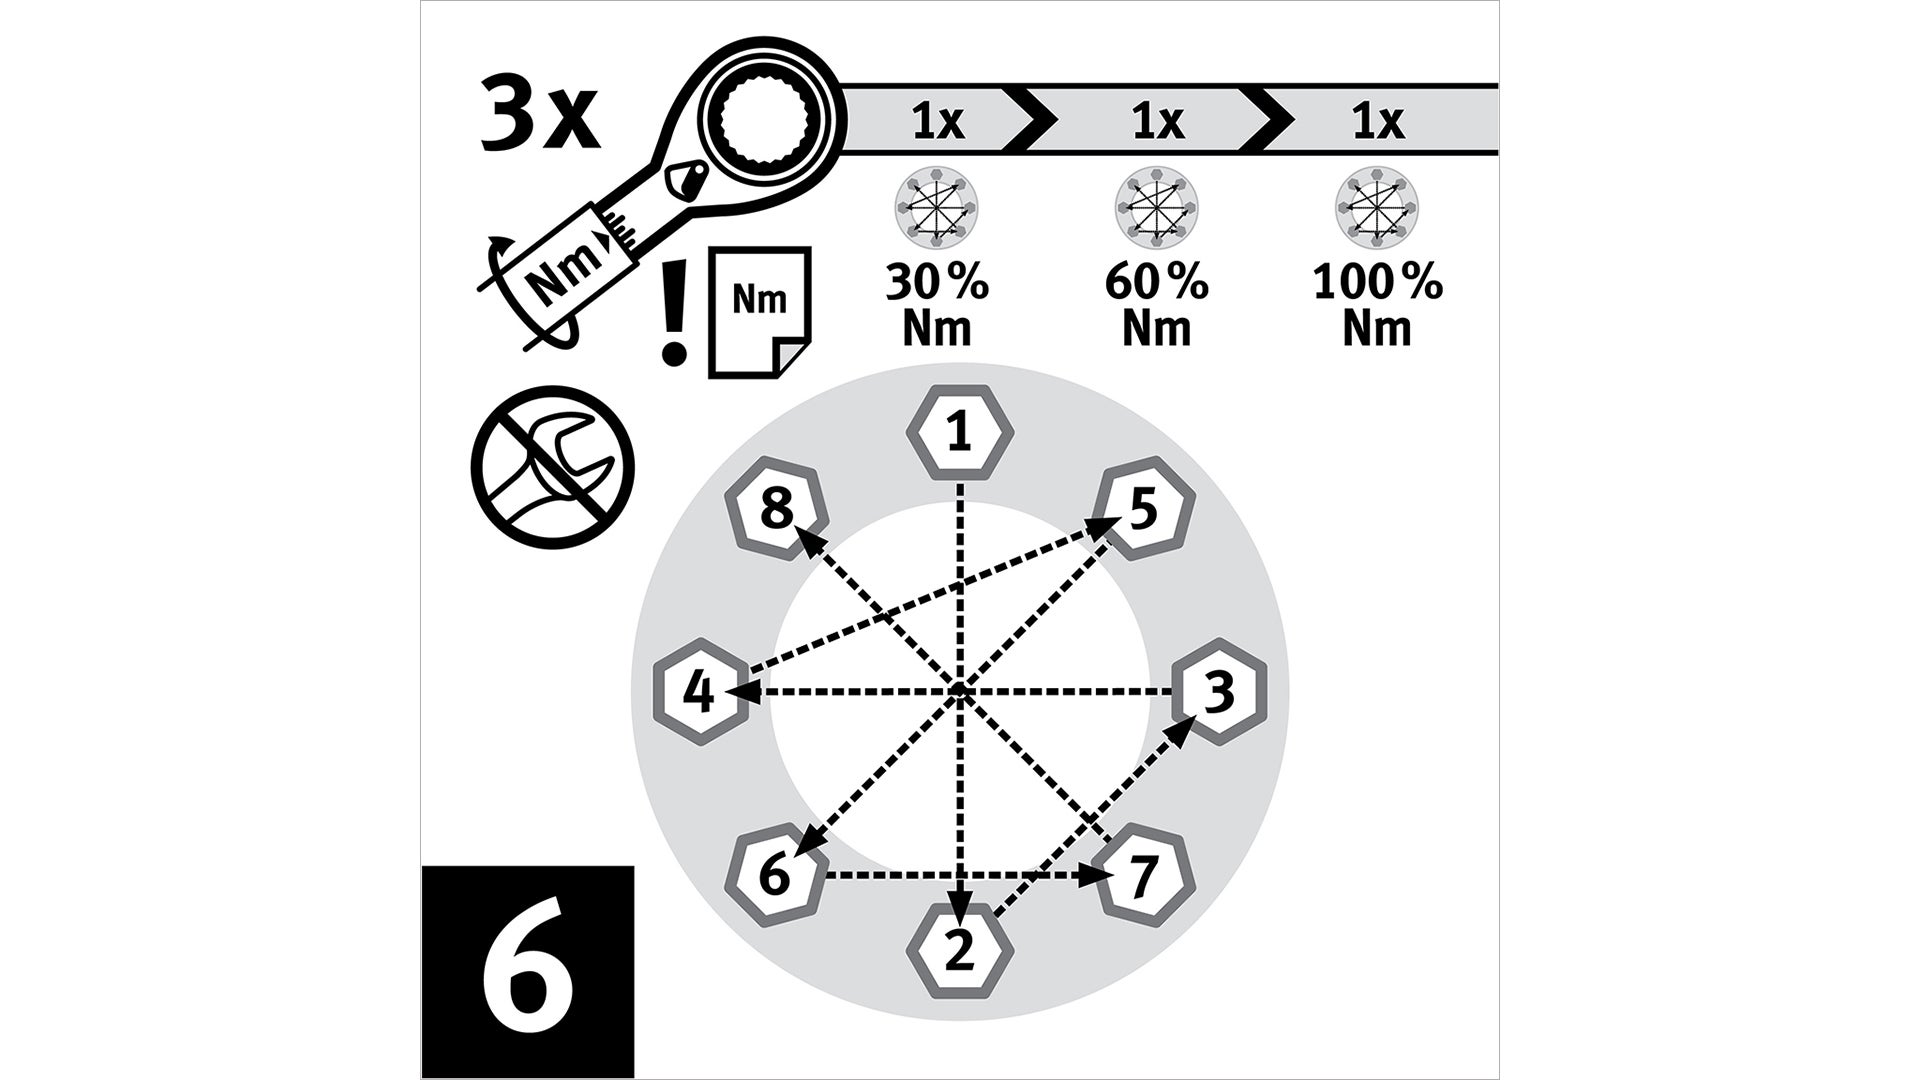
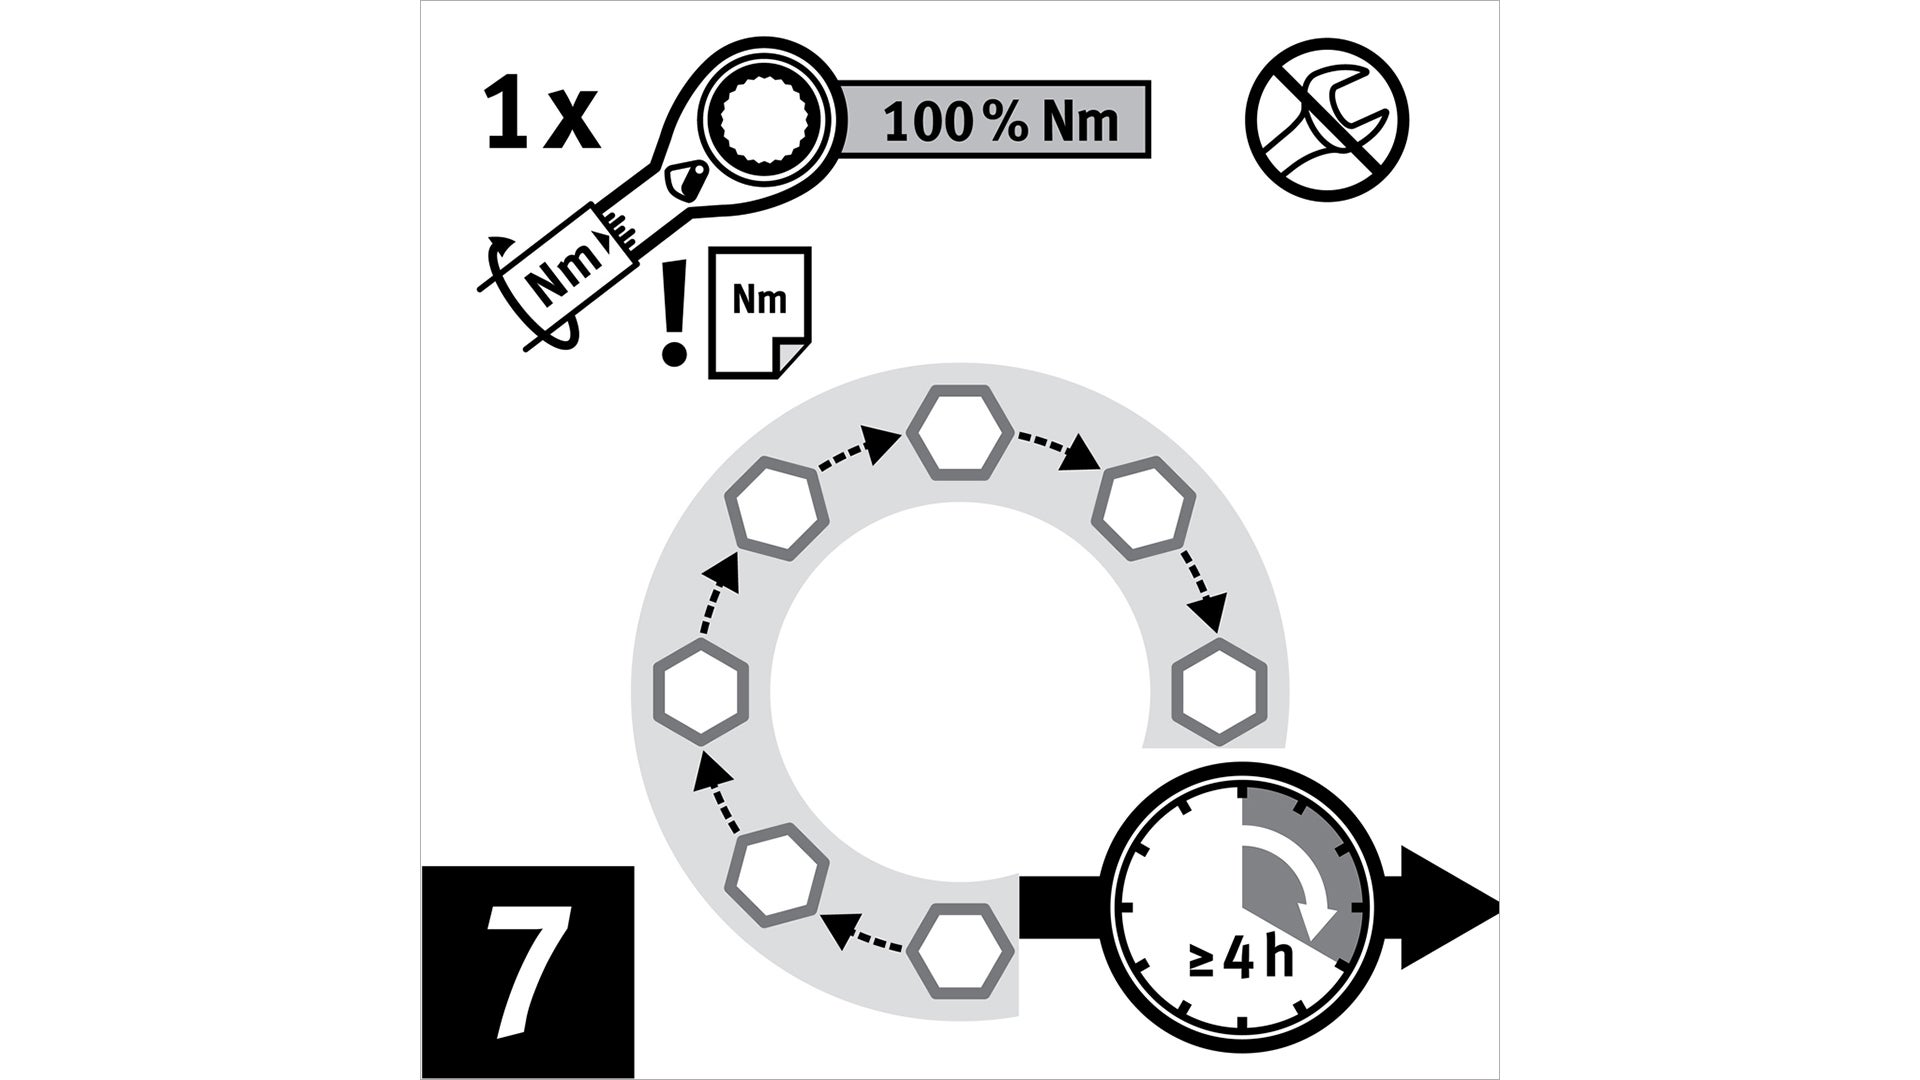
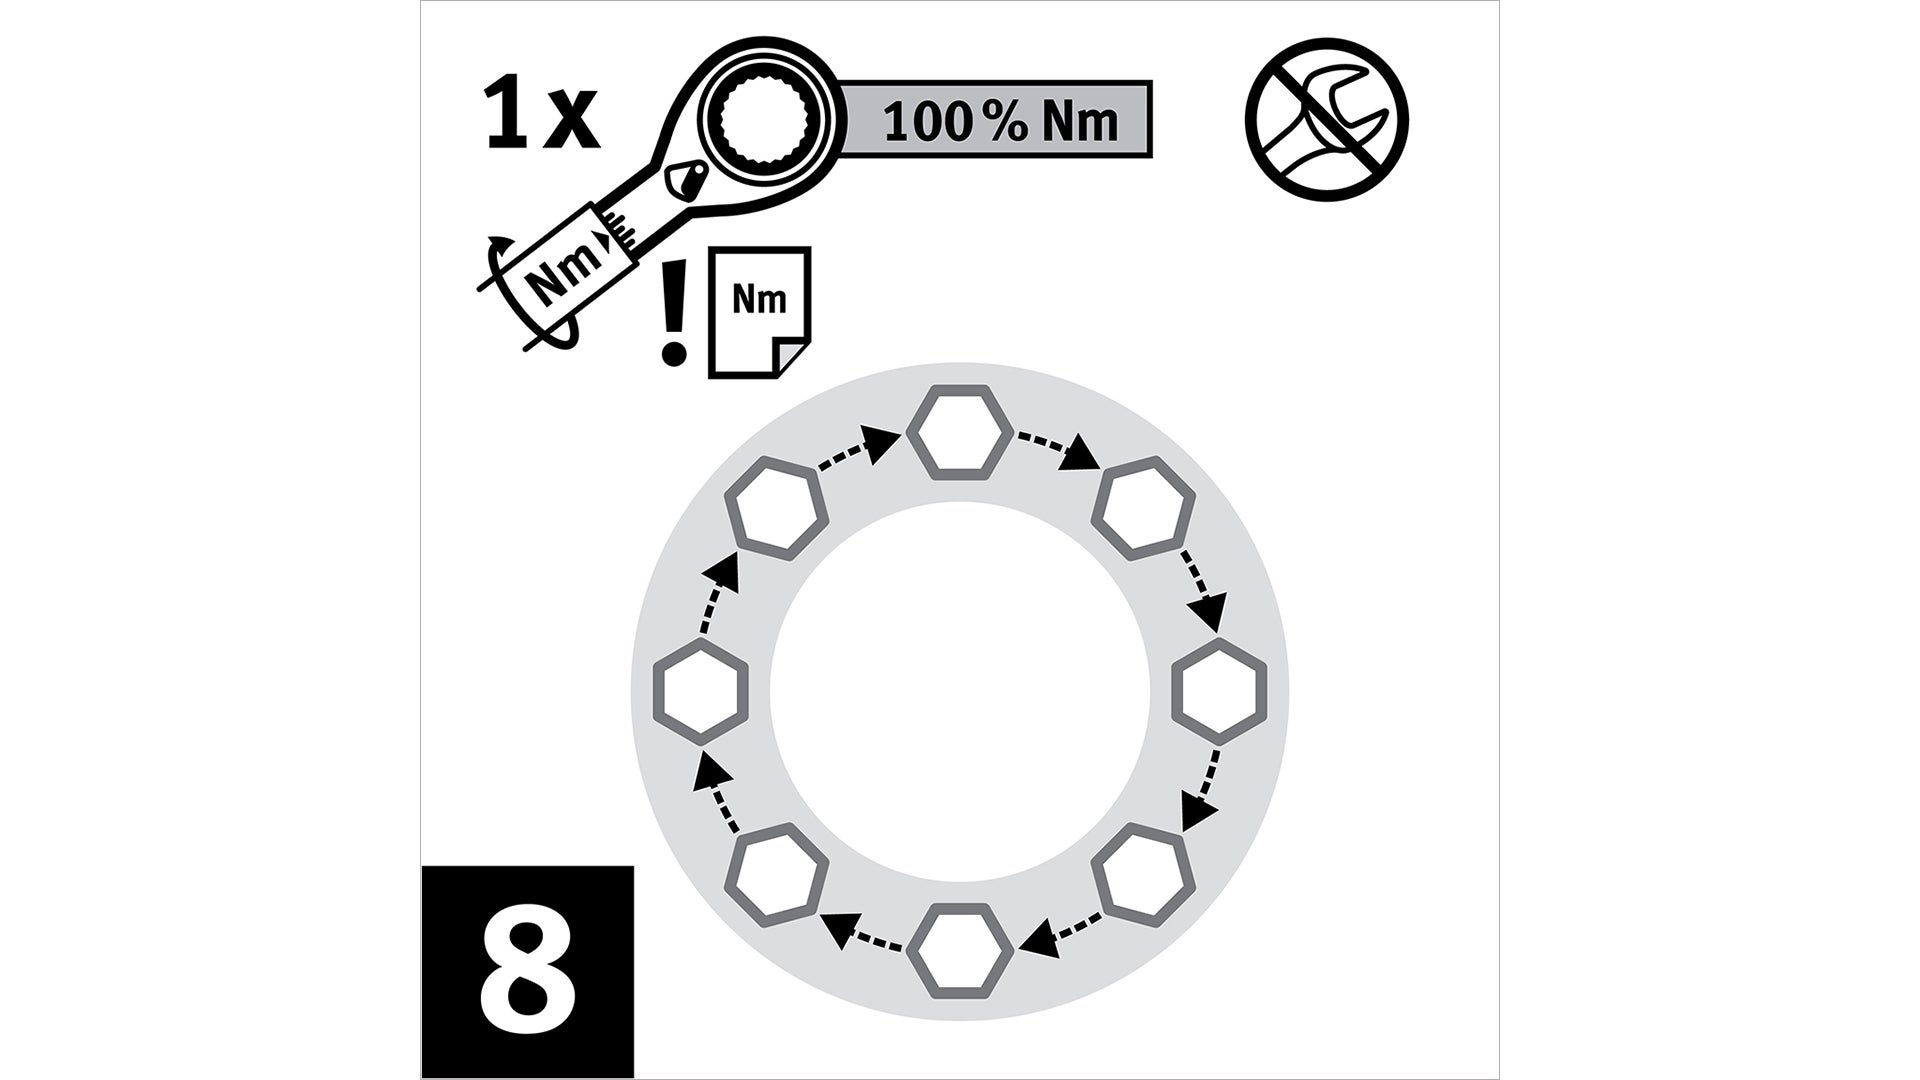
To achieve a reliable seal, adequate gasket stress must be applied during installation. The Gore torque tables provide end-users with an estimation of bolt preload for use during flange assembly.
Choose a gasket that matches the pressure class and nominal diameter of the standard flange:
Gasket Dimensions (Flat Ring and Full Face) ASME B16.21-2016
To achieve a reliable seal, adequate gasket stress must be applied during installation. The tables provide an estimation of torque for use during assembly of pipe flanges.
ASME B16.21 Gaskets in ASME B16.5 Steel Flanges
EN1514-1 Gaskets in EN 1092-1 Type 11 Form B
The German Chemical Industry Association, VCI, provides guidelines for bolted flange joint installation in chemical processing plants. These guidelines are based on a different set of inputs resulting in torque values different from those provided in the Gore EN1514-1 torque table. Gore has reviewed the August 2011 guidelines and supports the use of these VCI torque values when installing GORE® GR Sheet Gasketing.
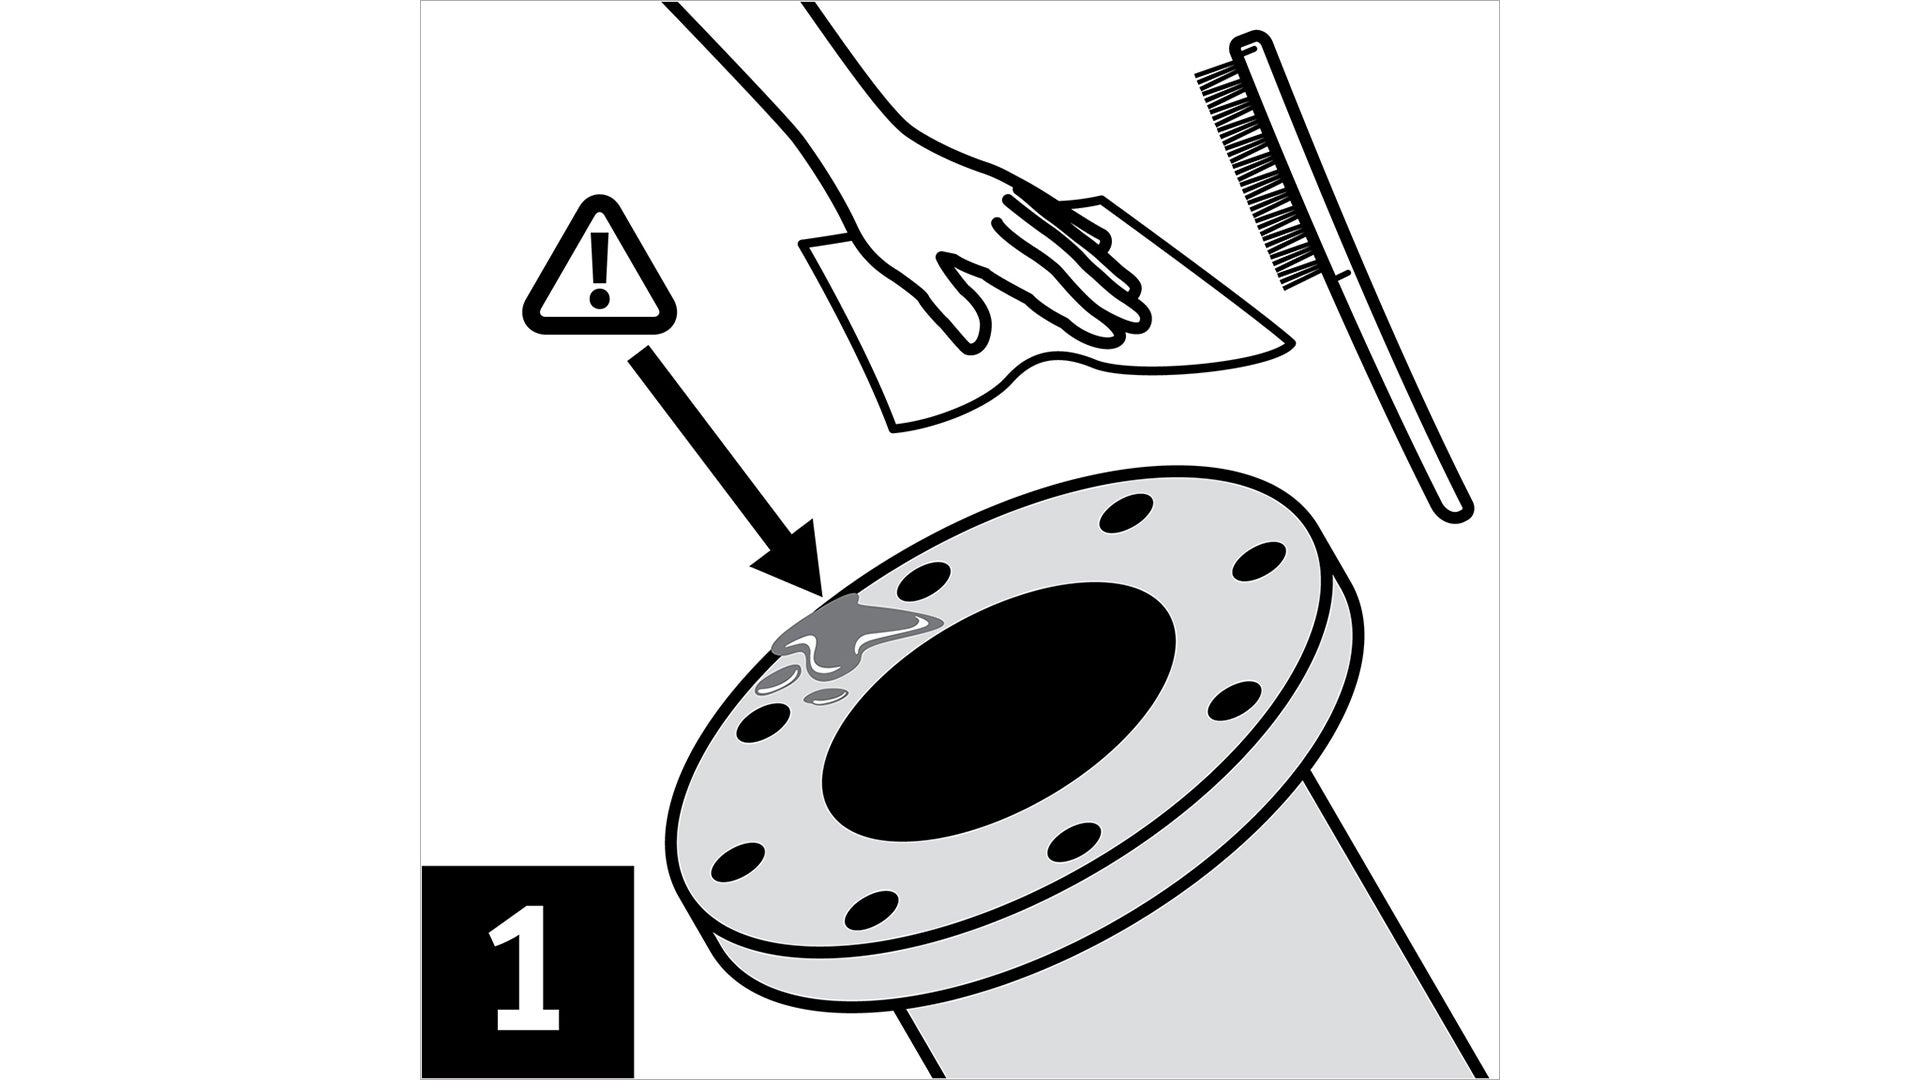
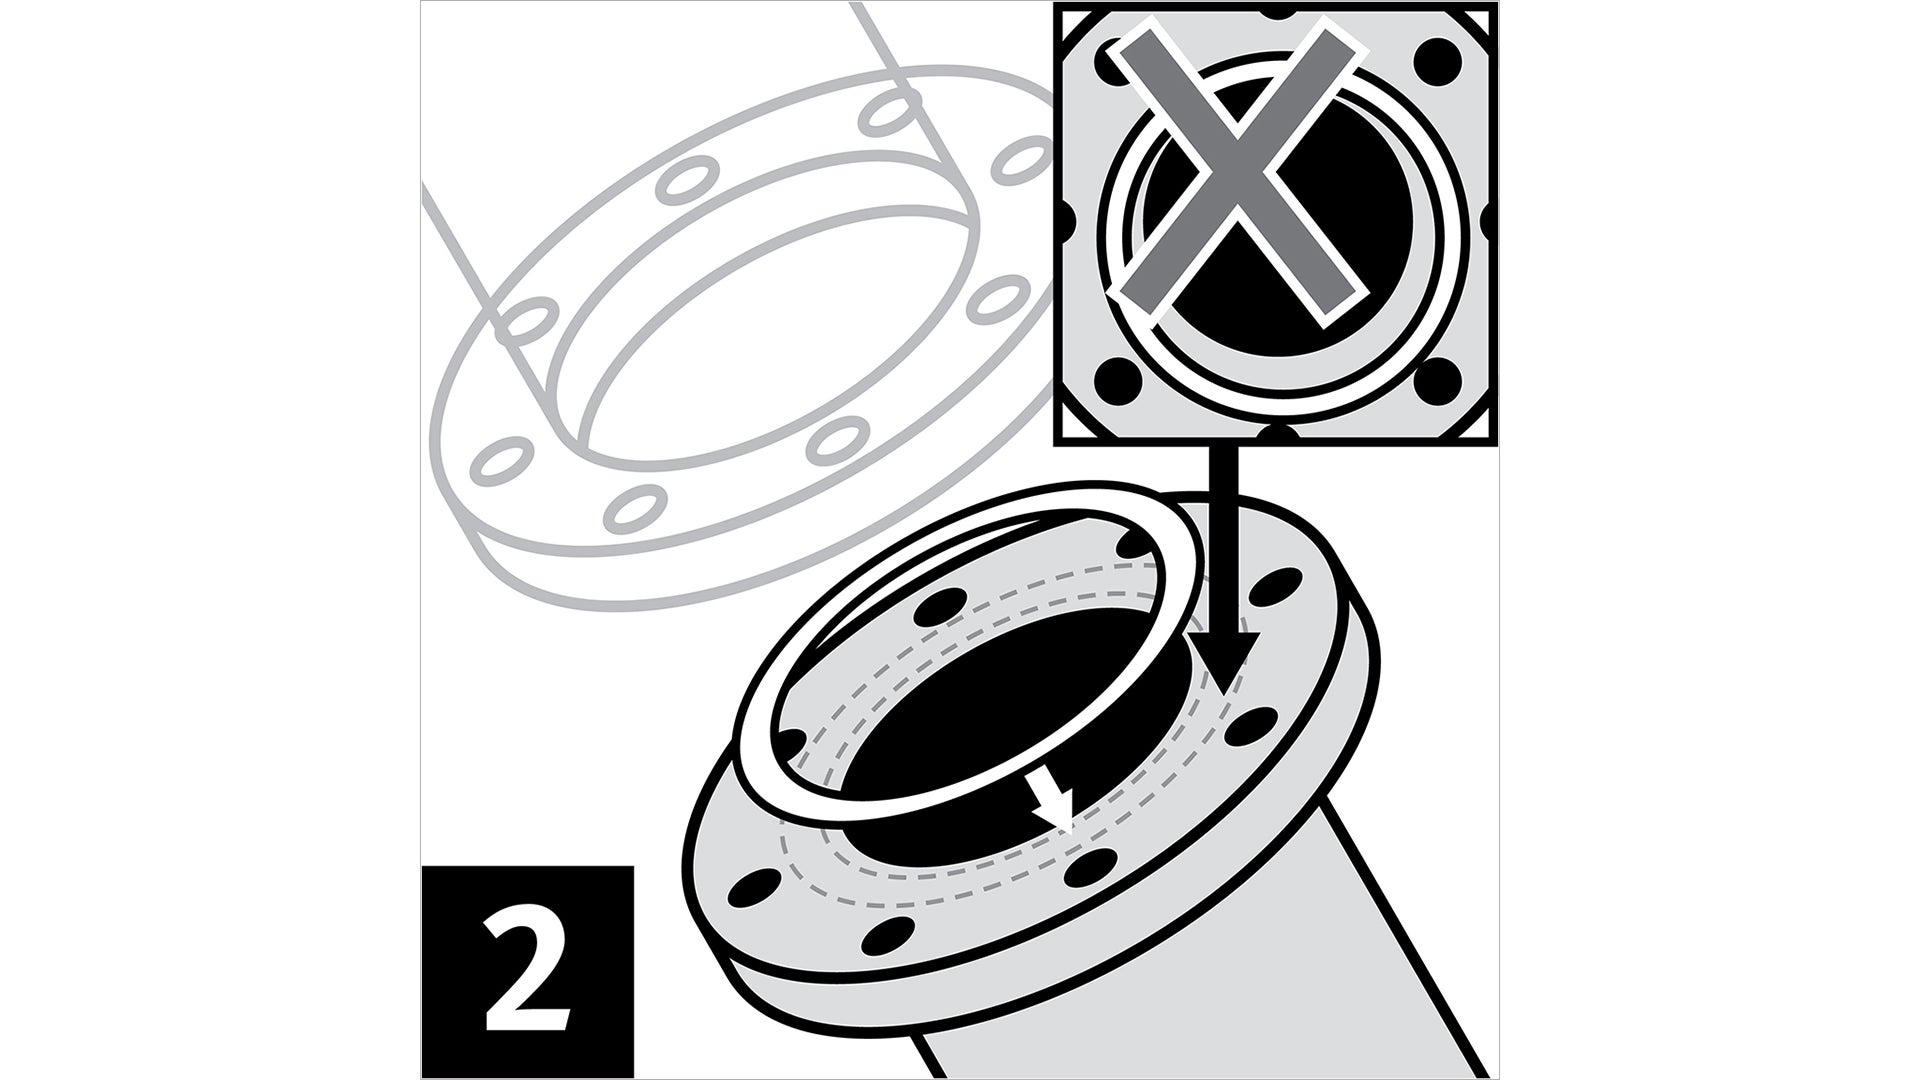
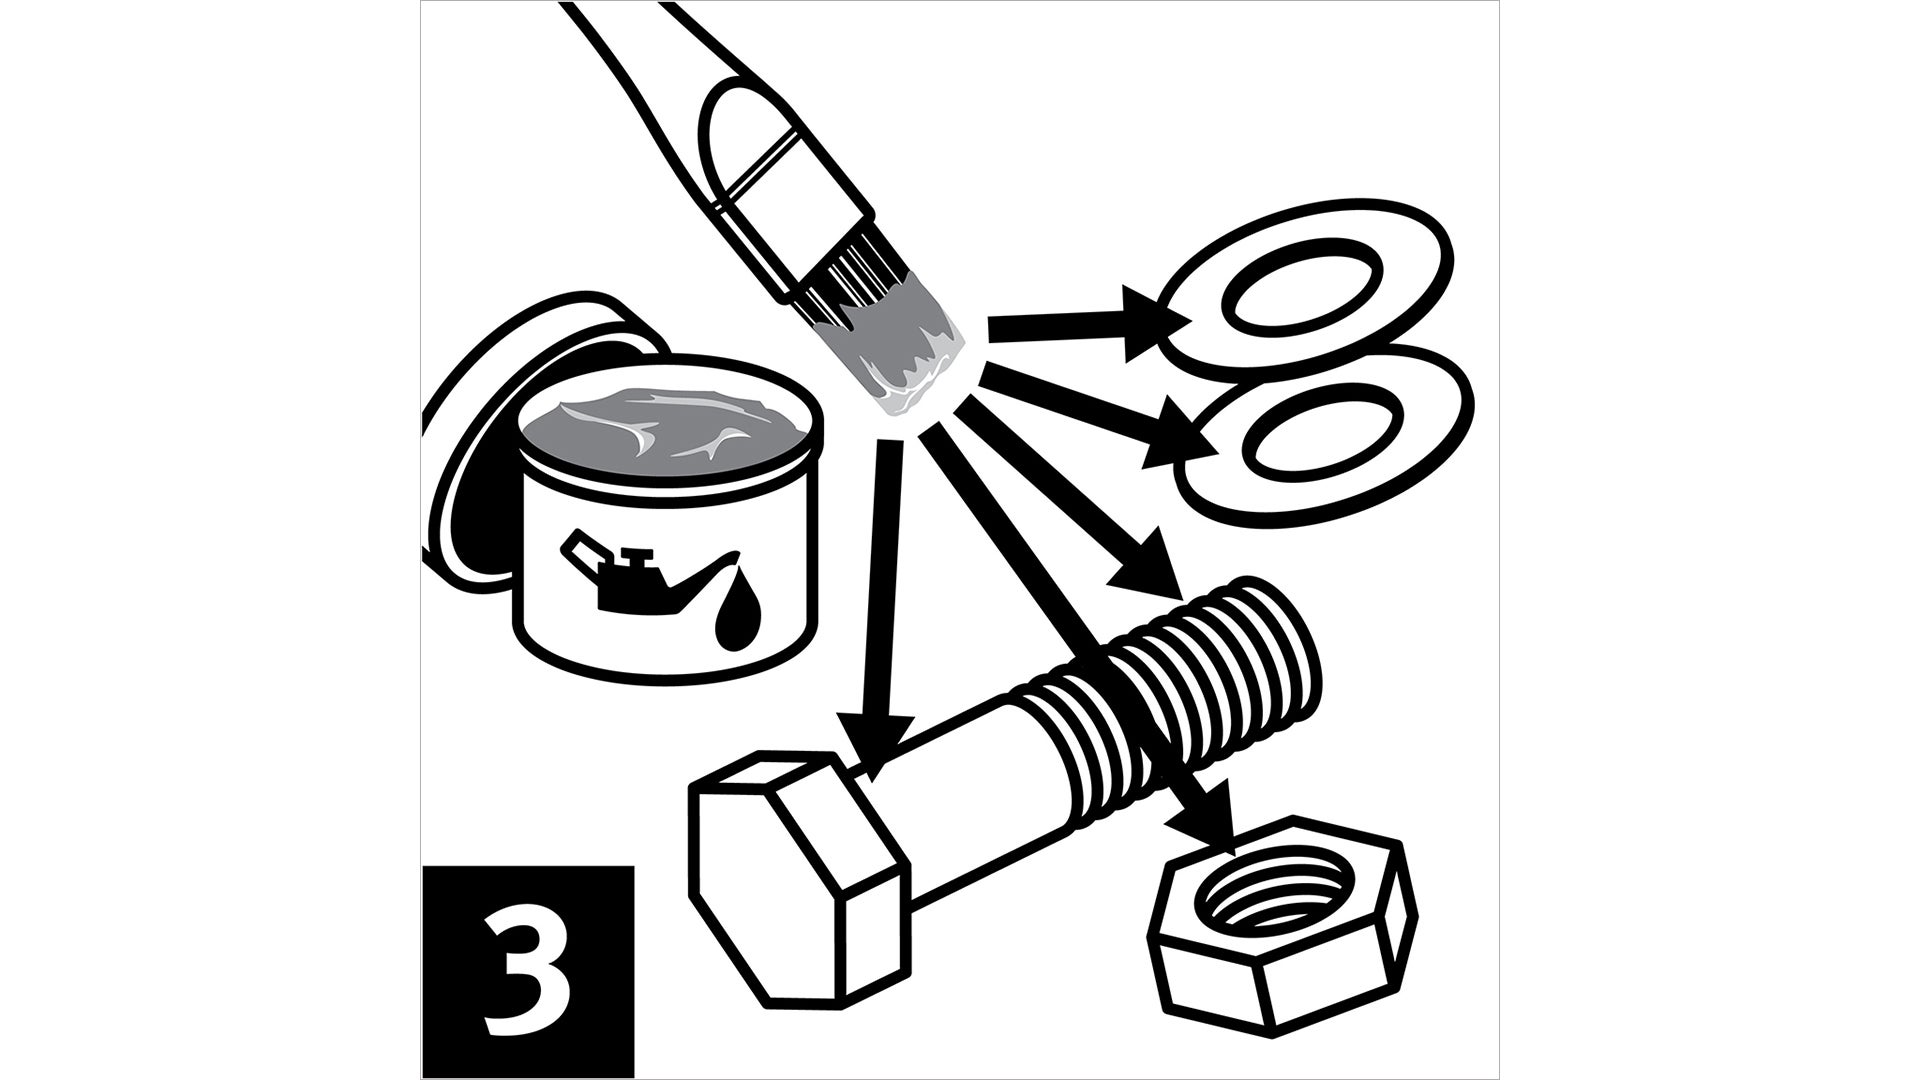
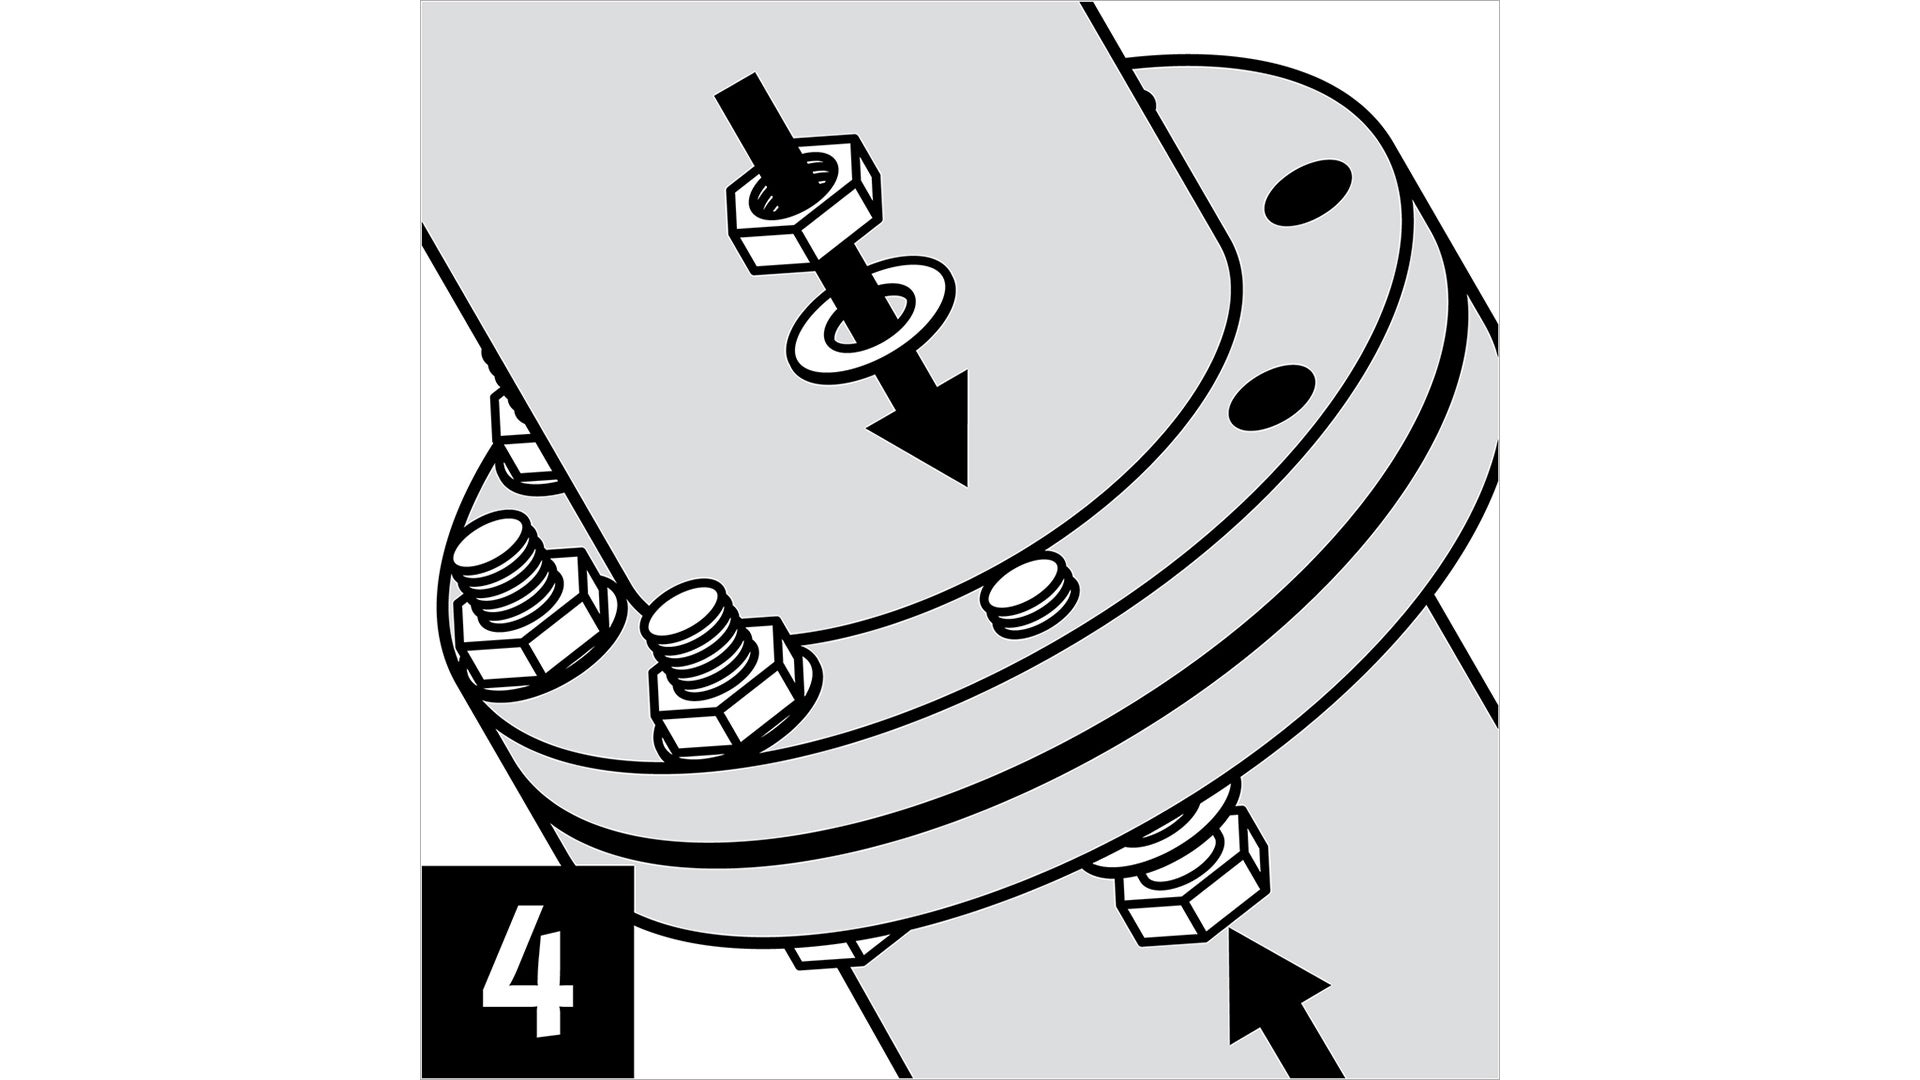
GORE® Gasketing Products do not require special assembly practices. However, utilizing industry best practices is always recommended when assembling a bolted flange joint. Such practices have been developed by ASME, European Sealing Association (ESA), the Fluid Sealing Association (FSA) and the Association of German Engineers (VDI).
- ESA/FSA Gasket Installation Procedures Assuring Joint Integrity and Maximum Safety
- ASME PCC-1 Guidelines for Pressure Boundary Bolted Flange Joint Assembly
- VDI 2200 - Tight flange connections: Selection, calculation, design and assembly of bolted flange connections
- ASME also offers training classes on bolted flange joint assembly
- Multiple organizations also offer EN 1591-4 specified training content for bolted flange joint assembly